In the previous article, we wrote end-to-end tests for the API built-in part two. In this part, we'll be focusing on integrating Travis CI and Coveralls which automates the running of the test when we push code to the repository thereby ensuring that new code to the codebase meets a given specification before integration.
Explanation of terms
- Continuous Integration (CI) - Continuous integration is a software development practice whereby the integration of new code changes to the codebase is automated using some tools such as Travis CI, Circle CI, etc. It ensures that an incoming change does not break the application. CI tools run an automated test and assert that the new code is correct before integration.
- Continuous Delivery (CD) - Continuous delivery is an extension of continuous integration to make sure that you can release new changes to your customers quickly in a sustainable way. - atlassian.com.
- Travis CI - a continuous integration platform which supports the development process by automatically building and testing code changes, providing immediate feedback on the success of the change. -docs
- Coveralls - a language-agnostic and CI-agnostic web service to help track code coverage over time, and ensure that all your new code is fully covered. - docs
Getting Started
To follow along, clone the project used in the previous articles here. Or if you already have a project that you want to add CI, open it in your favorite text editor.
Integrating Travis CI
The first step is to link the project repository to your Travis account. If you don't have Travis account, you can quickly sign up using your GitHub account. Follow the gif image below to link your repo to Travis CI:


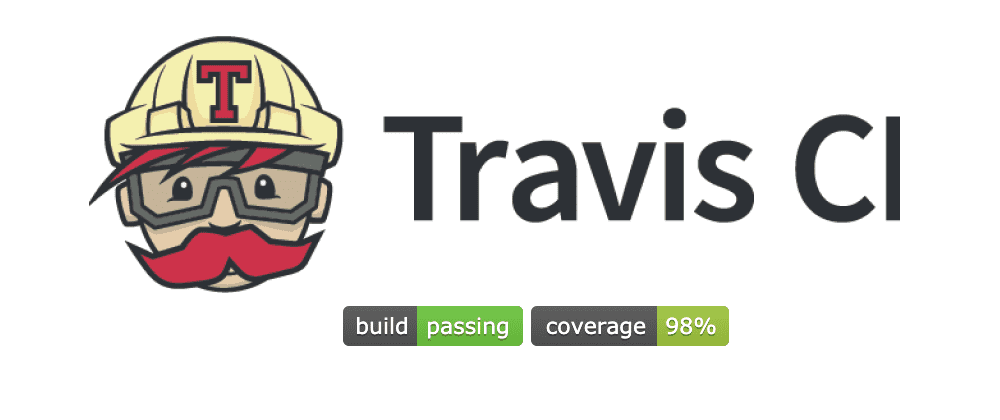
The gif images above demo the processes involved in integrating a repo to travis CI. The first image shows how to add the repo and activate it on Travis CI. The second image shows how to add environmental variables that the test might require to work if any. The last part of the second image shows how to generate the Travis build badge. Copy the markdown generated and add to the project readme, it should look as shown below:

Next up, we need to create a file called .travis.yml. The .travis.yml contains commands required for Travis CI to work.
On the project root directory, run the command below:
touch .travis.ymlCopy the following code into the .travis.yml:
language: node_js
node_js:
  - 'stable'
install: npm install
services:
  - postgresql
before_script:
  - psql -c 'create database test_db;' -U postgres
script: npm test
after_success: npm run coverage
Looking at the .travis.yml, the first line specifies the language the test is written. The second line tells Travis to use a stable version of node.js. Travis CI provides its own database, all we need to do is to tell Travis the type of database we need, which is done in the services. The before_script tells Travis to create a database test_db. The after_success tells Travis to run the coverage test and send the coverage report only if the test passes.
Integrating Coveralls
To integrate the project repository to coveralls, we will follow similar steps as integrating Travis CI. Log in to coveralls.io with your Github account. Take a look at the gif images below for a guide on adding the repository to coveralls.


Next up, copy the coverage badge and add to the project readme. It looks as shown below:
![]()
If you want to send the coverage report each time the test runs locally, then create a file named .coveralls.yml, copy the repo_token found on the project dashboard on coveralls and add to it. Note that the repo_token is optional for public repositories.
Next up, we need to create the coverage script. To do so, copy the code below and add to the scripts in package.json.
"coverage": "npm run pretest && jest --coverage && cat ./coverage/lcov.info | coveralls"Next up, install the coveralls package.
npm install --save-dev coverallsNow, run the coverage test:
npm run coverageIf you have the repo_token inside the .coveralls.yml, you'd notice that the coverage badge has updated as you can see above which initially says Coverage Unknown.
Finally, we need to push the changes to the repository, if everything is alright, Travis will be triggered immediately the code is pushed and if the test runs successfully, the build badge will be updated to build passing.
And voila! And voila! the image below shows that the build is passing:

How to check the uncovered areas
Notice that when you ran the command, npm run coverage, a folder called coverage is generated, that folder contains the coverage information which is sent to the coverage reporter in this case, coveralls.
There is also an HTML file inside the coverage at coverage/lcov-report/index.html. This file contains visual information of the line of codes covered and uncovered by the test. This comes in handy when you want to know where exactly you need to focus to improve the test coverage. A sample image of the coverage/lcov-report/index.html is shown below:

You can click on each of the rows to expand it for more details.
Conclusion
We have integrated Travis CI and Coveralls successfully. Now, assuming there are several developers contributing to the codebase, the integration checks that the incoming change is safe and does not break the existing codebase.
Next up, you can set your auto-deploy to run once the test passes, that way, you don't need to manually deploy each time there's a new change to the codebase. That is CI/CD in action.
I may not have touched every bit of this topic but be rest assured that I am available to answer your question should if any. Feel free to reach out to me for more discussions on this topic.