
This is part three of building API using Express, Sequelize, and Postgres. In part two, we built simple API endpoints to demonstrate CRUD operations in Sequelize. In this article, we'll be focusing on writing end-to-end tests for the API endpoints created in part two.
Explanation of terms
- End-to-end testing - a type of test which tests that the flow of an application from start to finish works as expected. This is also known as functional testing. An example of this type of test is testing an endpoint or a route which involves testing everything needed for the endpoint to work such as database connection, dependencies etc.
- Test Runner - a library or tool which picks up source code (tests) in a given directory or file, executes the test and write the result to the console or any specified location, example Jest, Mocha.
- Jest - Jest is a JavaScript testing framework developed by Facebook. It works out of the box with minimal configuration and has in-built test runner, assertion library and mocking support.
- Supertest - A library for testing Node.js HTTP servers. It enables us to programmatically send HTTP requests such as GET, POST, PATCH, PUT, DELETE to HTTP servers and get results.
Now that we have explained the basic terms, let us dive deep into the main business. If you've been following along from the previous articles, then open it in your favorite text editor, else clone the repository used here.
Step 1 - Install Jest and supertest
Open your terminal and cd to the project root directory and run the command below:
npm install --save-dev jest supertestStep 2 - Configure Jest
Open the package.json and add the code below to it.
 "jest": {
    "testEnvironment": "node",
    "coveragePathIgnorePatterns": [
      "/node_modules/"
    ]
  },
That is the basic configuration that we need to get jest set for testing our API. Any file that you want jest to ignore is placed inside the "coveragePathIgnorePatterns". "coveragePathIgnorePatterns" specifies a regex that matches the directory to be excluded, in our case we want it to ignore node_modules directories.
Next up we add the test script. Inside the scripts portion of the package.json, add the script below:
"test": "jest"Step 3 - Test Jest configuration
Now, let us confirm that jest is all set to run our test. In the terminal run npm test. You will notice an error as shown below printed on the console, this is an indication that jest is set up.

Let us add a simple test to verify the configuration. Create a new directory called tests and add a new file sample.test.js. Inside the sample.test.js, add the code below:
describe('Sample Test', () => {
it('should test that true === true', () => {
expect(true).toBe(true)
})
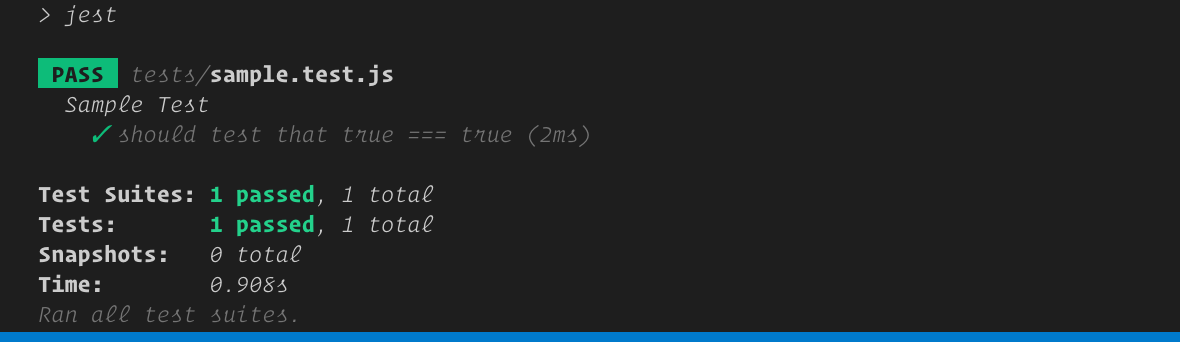
})Now, run npm test, you'd get an output as shown below:
How does Jest recognize a test file?
Jest recognizes test file in three ways:
- files that have extension
.test.js - files that have extension
.spec.js - All files inside
__tests__folder or directory.
Testing the API Endpoints
Now that we have got the test environment set up, it is time to start testing the API endpoints. Since our endpoint needs to make a request to the database, we need to set up a test database. The reason for setting up a test database is that we'll be dropping the database each time we run a test. Dropping the database each time the test is run ensures the integrity of the test. That is, if a test is about creating a post record in the database, we want to be sure that there was no post record in the database before the test was run, that way, we are sure of the result got from the test.
Step 4 - Create a test database In the part one of this article, we created two databases, one for development and the other for testing. Follow the link to create a test database if you have not done so.
Step 5 - Configure test scripts
We need the following scripts:
pretest- Thepretestis an npm script that is automatically invoked when thenpm testcommand is invoked. We'll hook in the command to change the environment to test and refresh the database before each test runs.migrate:reset: This command will be responsible for refreshing the database before each test runs.
Now edit the scripts for package.json as shown below:
"scripts": {
    "start-dev": "nodemon index.js",
    "migrate": "npx sequelize-cli db:migrate",
    "migrate:reset": "npx sequelize-cli db:migrate:undo:all && npm run migrate",
     "test": "cross-env NODE_ENV=test jest --testTimeout=10000",
    "pretest": "cross-env NODE_ENV=test npm run migrate:reset"
  }
What to note from the modification of the script:
cross-env- an operating system agnostic package for setting environment variables. We used it to set theNODE_ENVtotestso that our test can use the test database. Run the command below to install cross-env.
npm i -D cross-env--testTimeoutflag - This increases the default timeout of Jest which is 5000ms. This is important since the test runner needs to refresh the database before running the test.
Step 6 - Test the scripts
npm testIf everything is okay, you should see the output below on the terminal:
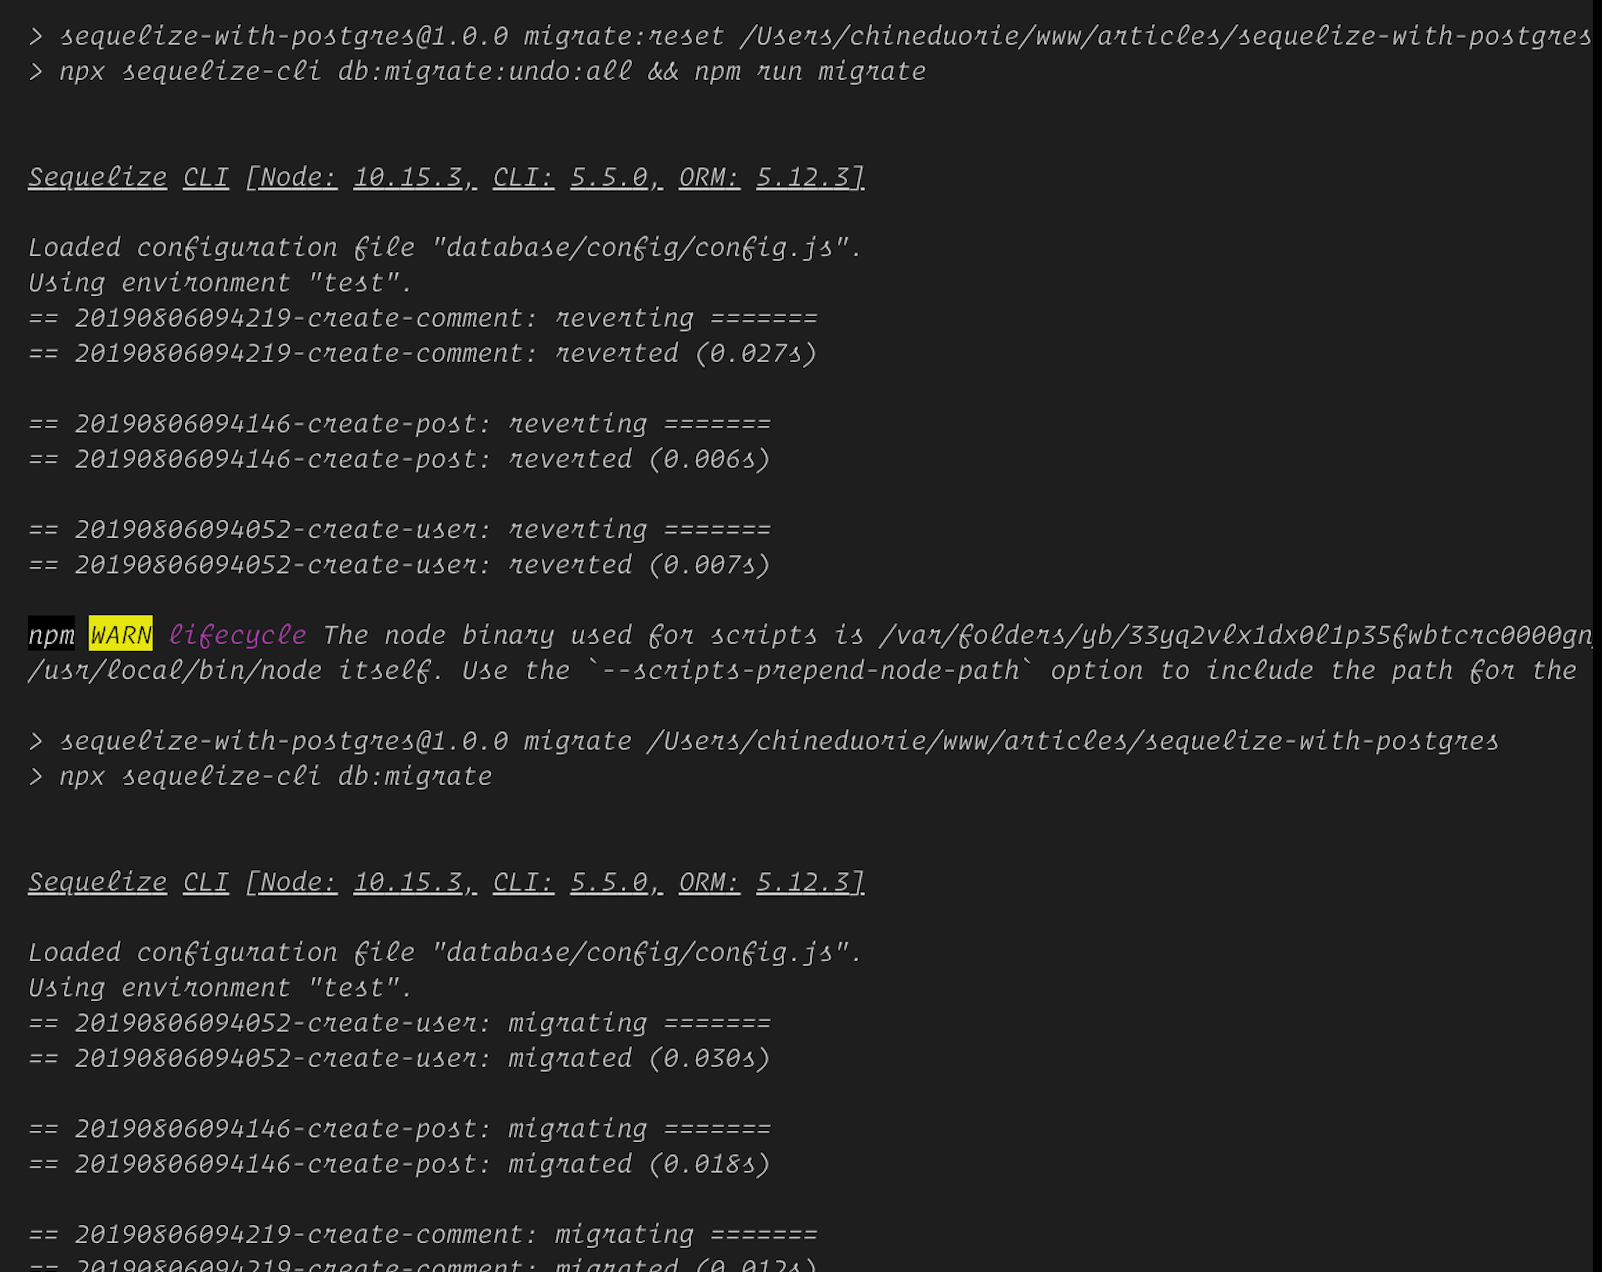 Looking closely at the screenshot above, you'd notice a line
 using environment "test" which shows that cross-env has changed the NODE_ENV.
Final Step - testing the routes/endpoints
Now, let's begin writing tests for the endpoints. Create a file named routes.test.js inside the tests directory
touch tests/routes.test.js- Testing Create Post Endpoint
Copy the following code into tests/routes.test.js:
const request = require('supertest')
const app = require('../server')
describe('Post Endpoints', () => {
  it('should create a new post', async () => {
    const res = await request(app)
      .post('/api/posts')
      .send({
        userId: 1,
        title: 'test is cool',
      })
    expect(res.statusCode).toEqual(201)
    expect(res.body).toHaveProperty('post')
  })
})- The
describefunction is used for grouping together related tests - The
itis an alias oftestfunction which runs the actual test. - The
expectfunction tests a value using a set ofmatcherfunctions.
visit the Jest docs for a full list and details of jest functions.
Now, run the test
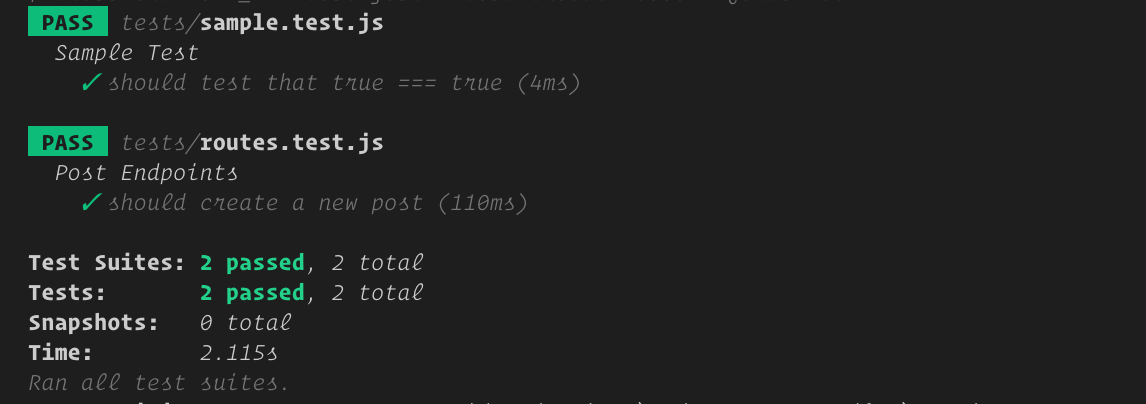
npm testThe output is shown below:
For the complete code for the tests for all the endpoints, check the repository.
Conclusion
We have been able to walk through the process of writing tests for API endpoints that interacts with the database. In the last part of this article, I'll be writing on integrating CI/CD and code coverage tools to the test environment. Until then stay tuned.
Feel free to reach out to me if you have any questions or suggestions on making the article better. You can also share your thoughts via the comment section below. Thanks!